How to Grow Basil Indoors (and Keep It Alive Past Week Three)
Supermarket basil dies in about 20 days. Here is how to split it, repot it, light it and pinch it so a single pot keeps cropping for months.
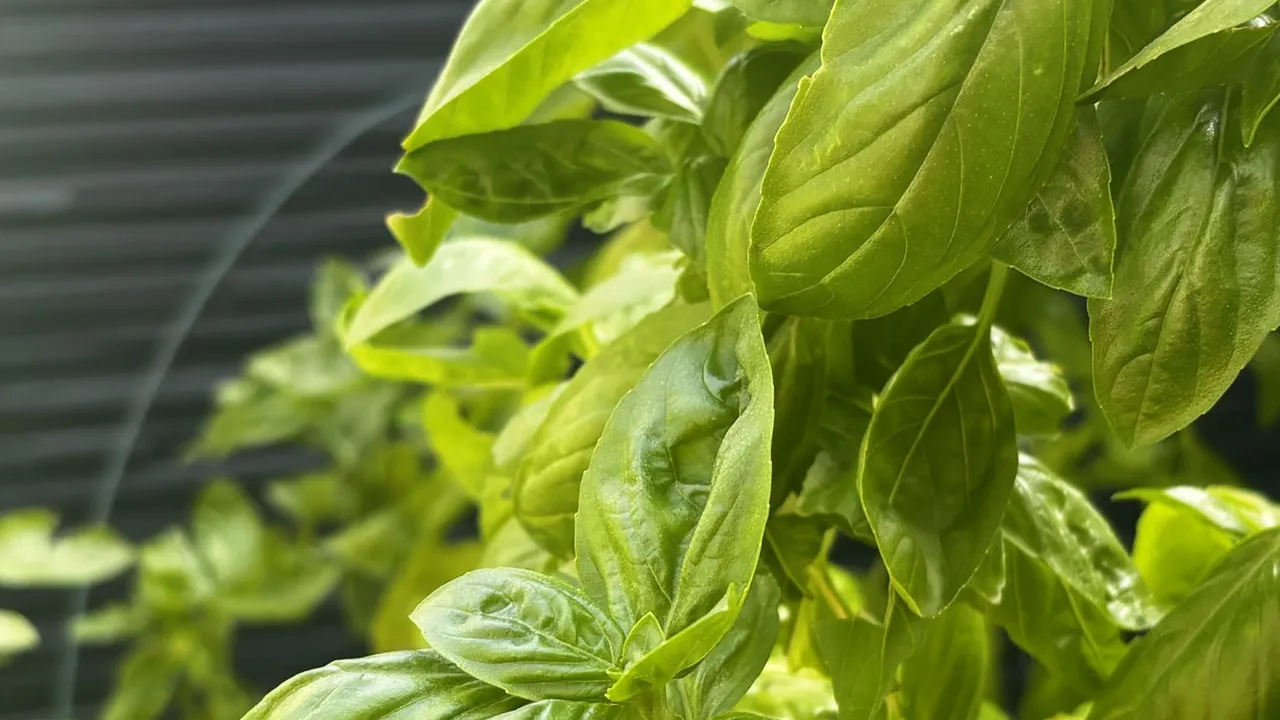
Almost nobody kills supermarket basil by neglect. They kill it by treating one pot as one plant — when it is actually thirty seedlings crammed into a plug of peat, fighting each other for root space until they all lose.
Fix that, and the same pot will feed you for months.
Why the supermarket pot collapses
Growers force a dense sowing under bright glasshouse light so the pot looks full on the shelf. That density is a shipping decision, not a growing one. Once it reaches your kitchen:
- Roots have no room, so the plant cannot buffer a missed watering.
- Air cannot move between stems, so the base goes soft and grey.
- Indoor light is a fraction of glasshouse light, so nothing recovers.
The plant is not sick. It is overcrowded.
Step 1: Split it the day you get it home
Water the pot thoroughly and leave it an hour. Slide the whole root ball out, then tease it into three or four clumps with your fingers. Roots will tear. That is fine.
Step 2: Repot into something wider
Each clump goes into a 12–14 cm pot with drainage holes, in ordinary multi-purpose compost. Wider matters more than deeper — basil roots run sideways.
Set the clump at the same depth it was before, firm gently, and water until it runs out of the bottom.
14 cm terracotta pots with saucers (set of 4)
Search current listings on Amazon Amazon (opens in a new tab, affiliate link)Search link, not a specific listing — compare current price and seller before buying. Terracotta dries faster than plastic, which suits basil on a warm sill.
Step 3: Give it light it can actually use
Basil wants the brightest spot you have — a south or west window, ideally 6+ hours of direct sun. Below about four hours the stems stretch, the leaves get small and pale, and flavour drops off.
If your window cannot deliver that, add a clip-on lamp on a timer. See our clip-on grow light comparison for what to look for.
Step 4: Water at the base, in the morning
- Water when the top 2 cm of compost is dry to the touch — usually every 2–3 days on a warm sill.
- Water the compost, not the leaves. Wet foliage overnight is how you get downy mildew.
- Never leave the pot standing in a full saucer.
Step 5: Pinch, and keep pinching
This is the part most people skip, and it is what turns one harvest into twenty.
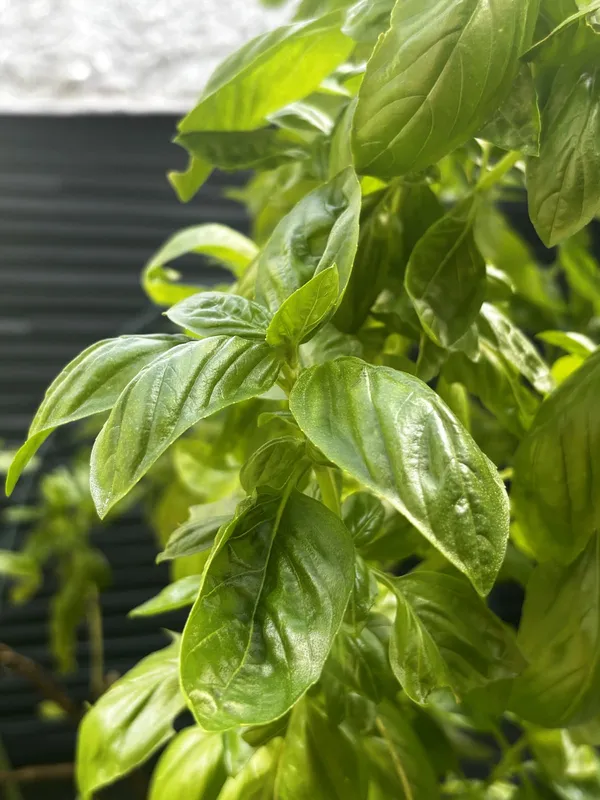
When a stem has three pairs of leaves, pinch out the growing tip just above the second pair. Two new shoots grow from that point. Repeat on every stem, every couple of weeks.
Harvest the same way — take stem tips, never strip individual leaves from the bottom.
Feeding
From about week four, a half-strength liquid feed every two weeks is plenty. Basil grown for leaves does not want a high-potassium tomato feed — a balanced general-purpose one is better.
Troubleshooting
Leggy, wide-spaced leaves — not enough light. Move it or add a lamp.
Yellow lower leaves — usually overwatering; check the pot is draining.
Black-brown patches after a cold night — cold damage. Basil hates anything under about 10 °C, and a windowsill behind a closed curtain gets colder than the room.
Tiny white flecks and fine webbing — spider mites, which thrive in dry indoor air. Rinse the plant in the sink and raise the humidity. See common indoor plant pests if you’re seeing something that doesn’t match this description.
What to expect
A properly split, well-lit pot should give you a handful of leaves a week from around week three, and keep going for four to six months before it gets woody. At that point, take cuttings — basil roots in a glass of water in about ten days — and start the cycle again.
Filed under Herbs. Questions or a correction? Get in touch.
Keep reading
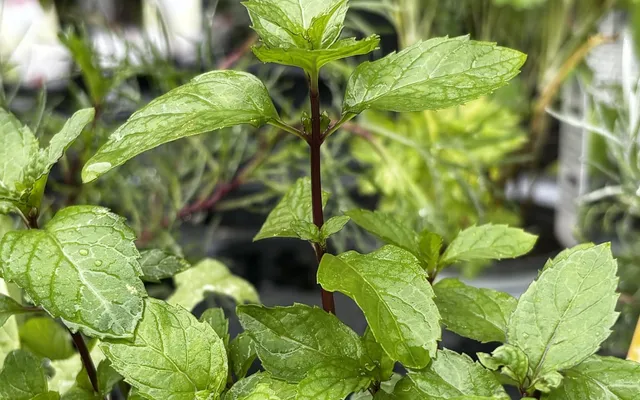
How to Grow Mint Indoors Without It Taking Over
Mint is the easiest herb to keep alive indoors and the easiest to regret planting with anything else. Containment, light, and the propagation trick that gives you endless mint for free.

Why Your Indoor Basil Keeps Dying: 7 Causes, by Symptom
Basil is the hardest common herb to keep alive indoors. Work backwards from what you actually see on the plant to the seven most likely causes and their fixes.
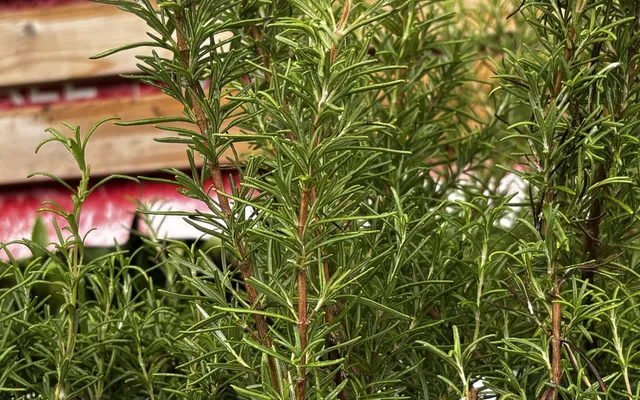
Windowsill Herb Garden: Which Herbs Suit Which Window Direction
North, south, east or west — each window direction suits a different set of herbs. Match your window to the right herbs instead of guessing and hoping.